Deploy PfSense on DigitalOcean with a VPC Network
With the addition of Virtual Private Cloud feature in DigitalOcean, pfsense can be a great gateway and firewall to protect your droplets in a private isolated network.


PfSense is a great firewall that can be implemented in different scenarios. With the addition of Virtual Private Cloud (VPC) feature in DigitalOcean, pfsense can be a great gateway and firewall to protect your droplets in a private isolated network.
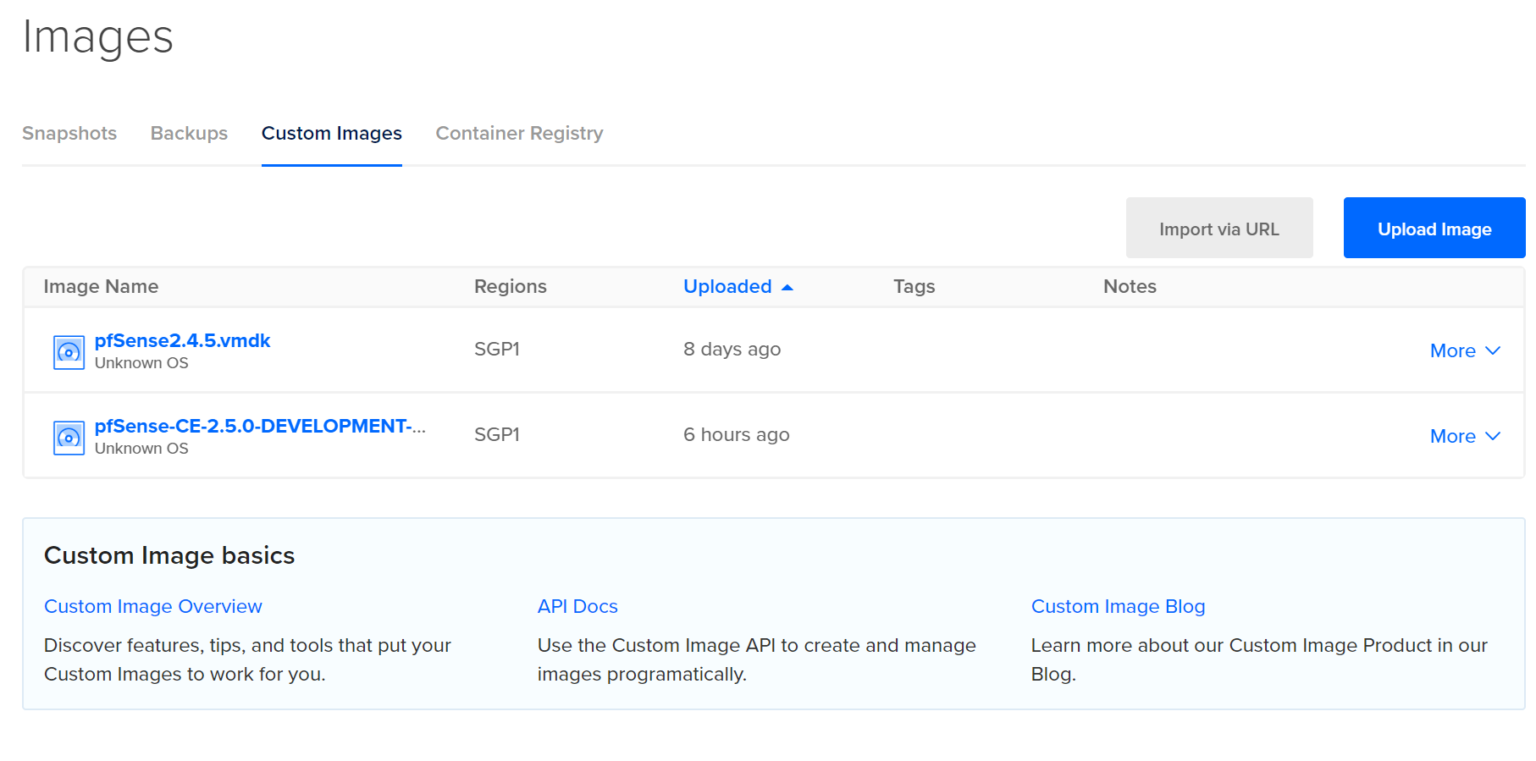
Unfortunately, DigitalOcean does not provide (yet) a ready to use image for pfsense. There are ways to deploy pfsense on top of an existing FreeBSD installation, but this is not recommended by Netgate. Alternatively, You can import a custom image to use in DigitalOcean, but the import tool does not support importing iso files, it only support these extensions: gz, bz2, vmdk, vhdx, qcow, qcow2, vdi, raw, img, xz.
There is a simpler solution to this, but requires manual upload of the image from your local machine. You can simply download the pfsense iso image from pfsense.org, install it as a vm on a hypervisor (eg. VMware, VirtualBox, Hyper-V), once it finishes installing and reboots, switch it off, then upload the vm disk (vmdk, vdi, etc..) to DigitalOcean. Now you have a ready to set up pfsense image.
Before you create a disk image using a hypervisor, you should at least give it a 2GB disk for installation (no worries, disk size can be increased once deployed in DigitalOcean), you also don't want to give it more than 2GB because you don't want to waste your bandwidth later when you upload.
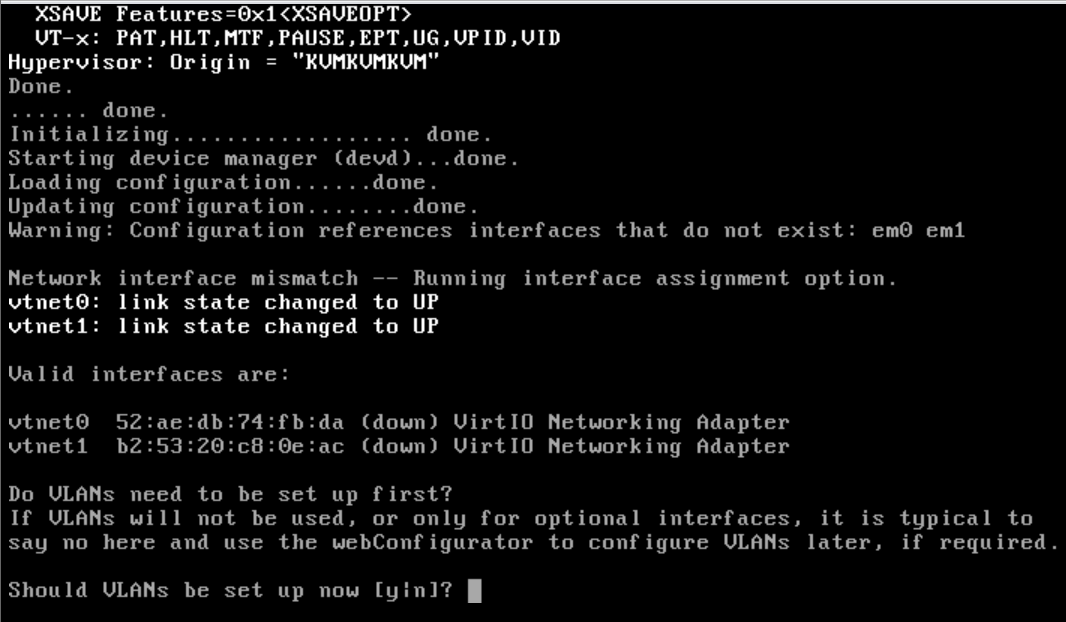
Now create a droplet from that image and enable VPC or choose an already created VPC instance. There is also some tweaking needed once you create a droplet. First, you need to access the console and follow pfsense setup, define the WAN network which is the first adapter, then make sure that you do not define a LAN network. This step is important because when you don't define a LAN, pfsense places an anti-lockout rule on the WAN interface, which is the interface you will be using to connect to pfsense GUI.
Once you finish the console setup wizard you should be able to access pfsense through the droplet's public ip address. Once you login make sure that the first step is changing the default admin password (I strongly recommend adding the droplet to a DO Cloud Firewall and denying all access to it except from your public ip address during the whole setup process).
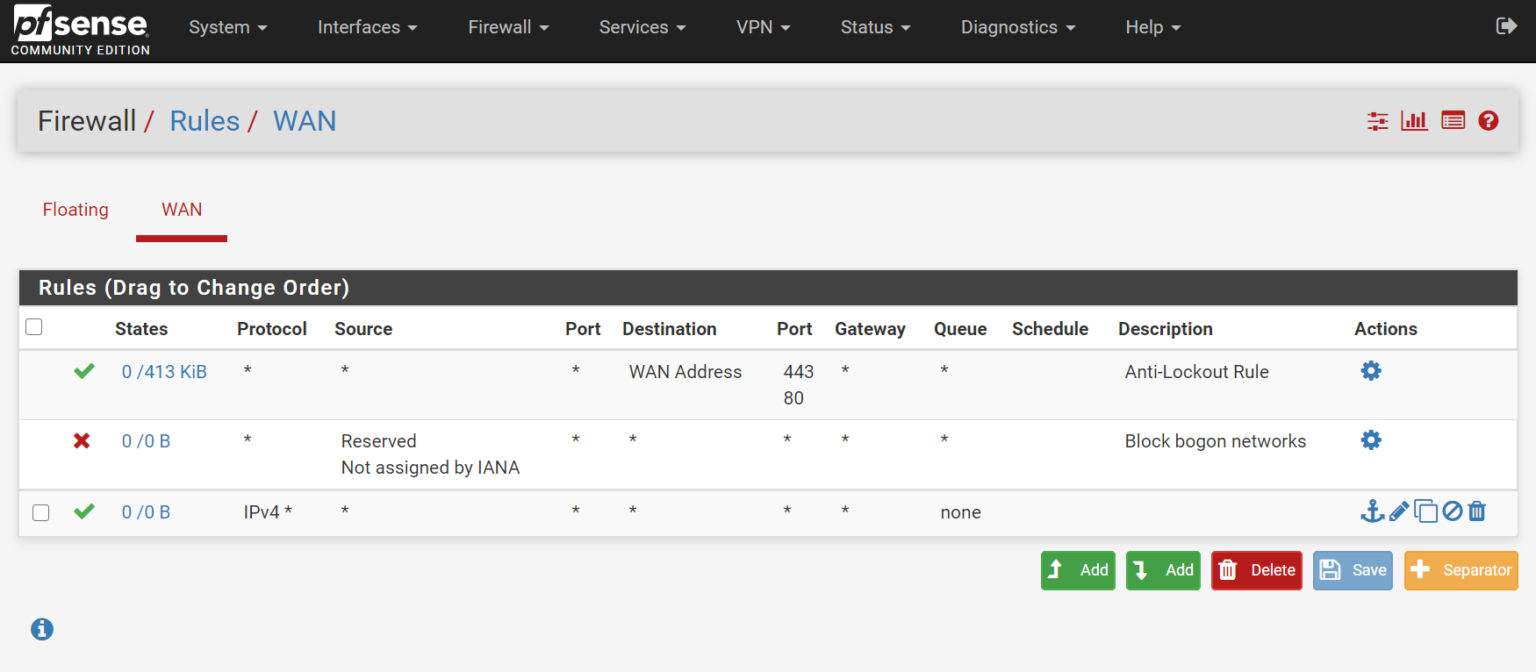
Now it's time to define the LAN network, but before you actually do that, you need to add a firewall rule to the WAN interface to allow management, because once you define the LAN, the anti-lockout rule gets removed.
After you add the rule, you can now go to the interfaces tab and assign the new interface which is the VPC. You would want to configure it as a DHCP client because VPCs do not support running static ip addresses without some tweaking and advanced configurations as discussed in the previous blog here.
Another thing you need to watch for is disk space. Running gpart show in the command prompt, you will notice that pfsense uses only part of the disk space. You need to expand the partition, as well as the file system to reclaim all the unused free space. To do this, you need to follow this guide on FreeBSD.org here.
Now that your pfsense firewall is ready, you can start tweaking it as your needs.
You can start by installing HAProxy, ACME and Snort packages to use pfsense as reverse proxy, load balancer and a layer 7 cloud firewall.
Security concerns with unencrypted traffic in VPCs
For droplets, VPCs are a transparent layer 2 medium. It is true that VPCs are private networks between droplets only you define, it is also true that traffic between nodes in a VPC never leave a data center, but it doesn't mean all your nodes live in the same rack space.
Let's say for example, for easier and simpler configurations, you want to run unencrypted http traffic between web servers and a proxy. This opens up the question of the possibility of someone sniffing traffic at the switching level. Of course I am not implying that someone is violating privacy terms, but it is a security best practices to not let any unencrypted traffic leave a physical link.
To the rescue, pfsense has a great and easy to use OpenVPN server. You could run it on pfsense and configure clients to send all unencrypted traffic through the VPN tunnel.
That being said, this goes into a different category, so I will leave it here, or maybe create a dedicated blog in the future.